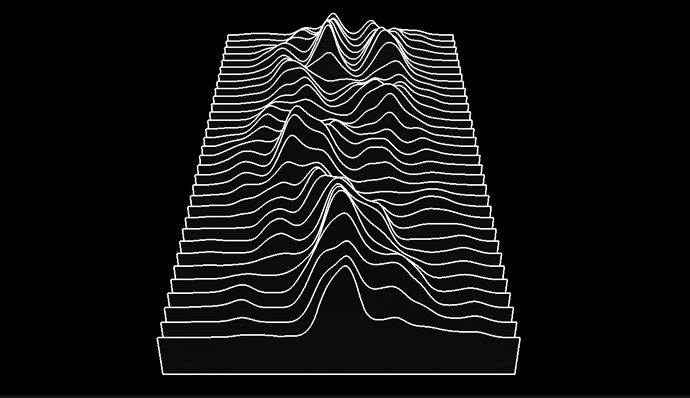
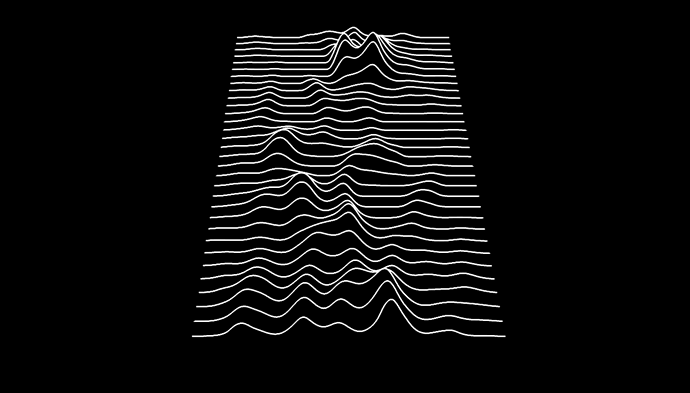
This very well-known visual from Joy Division’s iconic debut album cover and is the inspiration for this project.
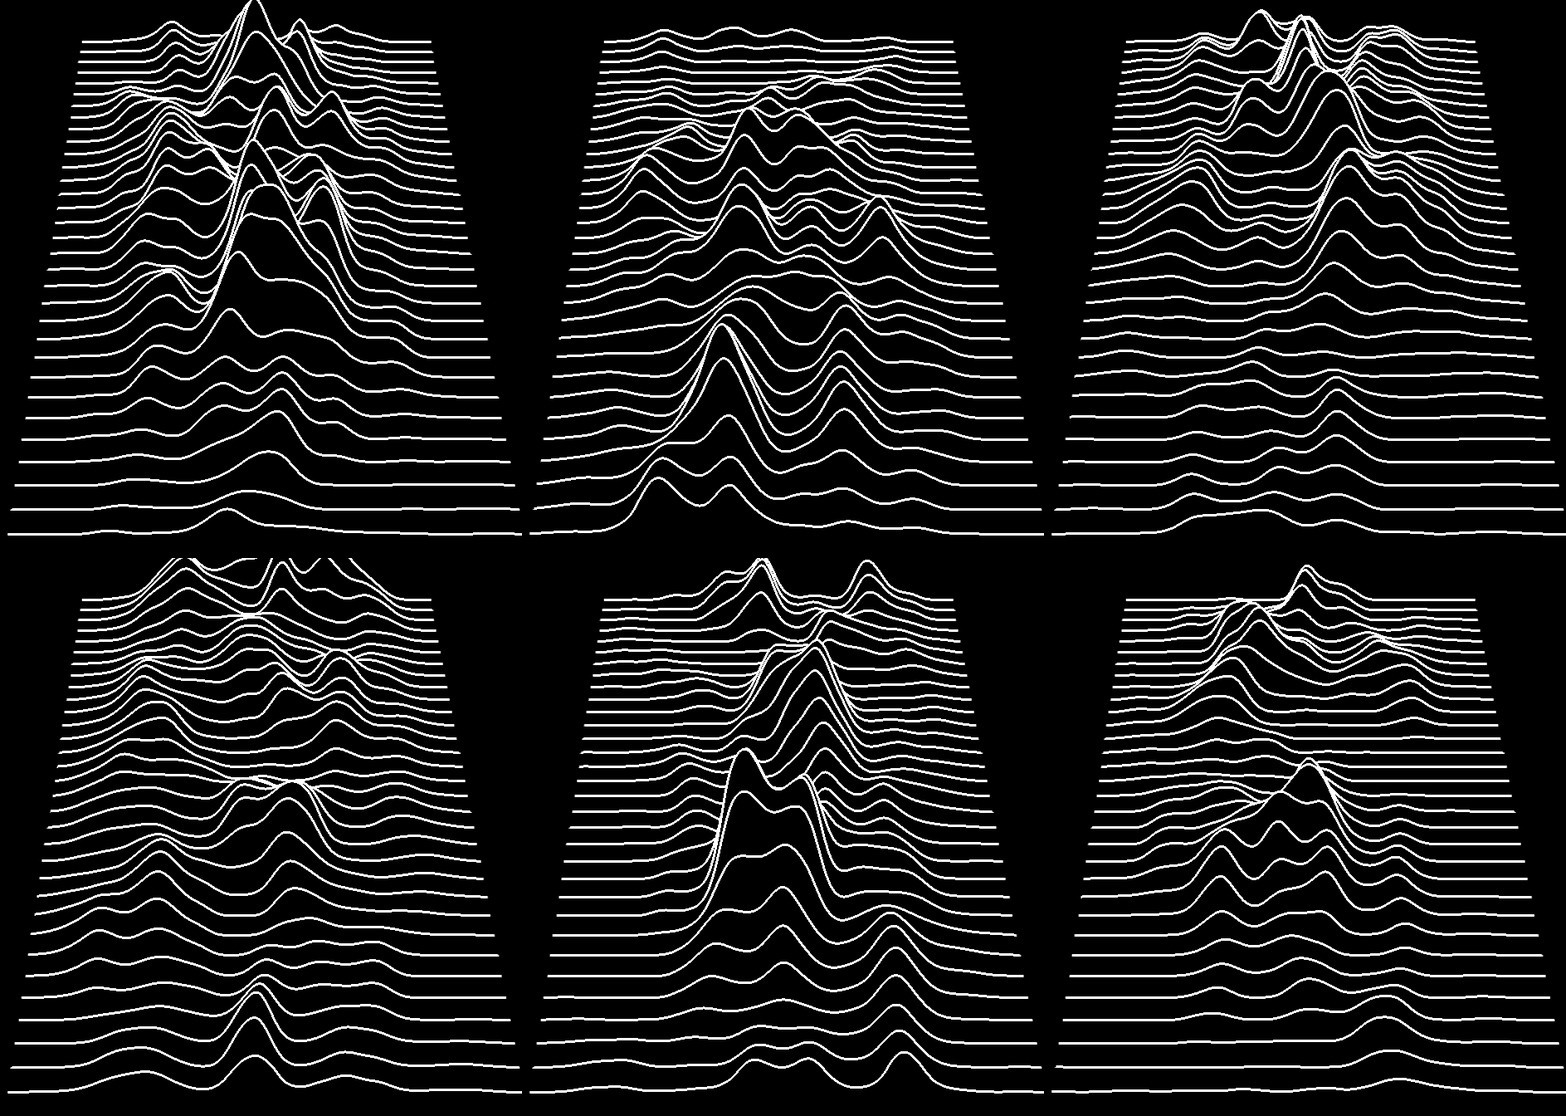
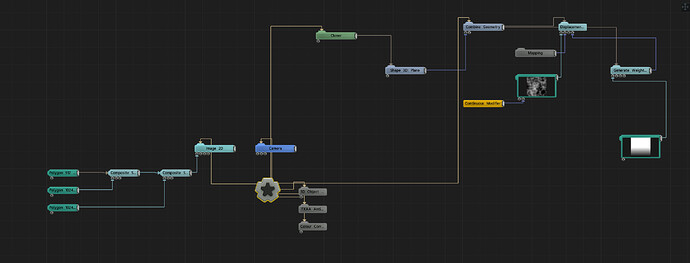
The solution that I found to work pretty well for this effect is quite simple, using clones on a 3D plane and deforming them with displacement.
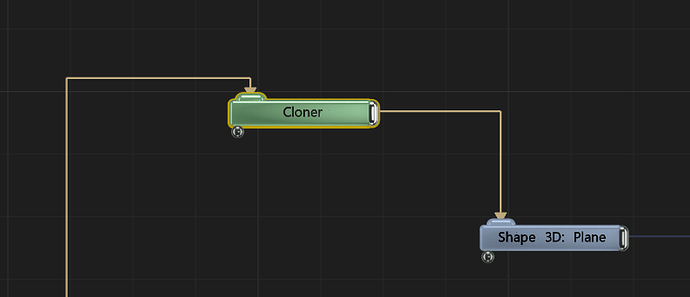
CLONER
This is a very simple setup, a simple plane that is cloned. One important thing to note is that the plane must have a large enough X subdivision so that it can be deformed at the next stage.
Subdivided plane primitive
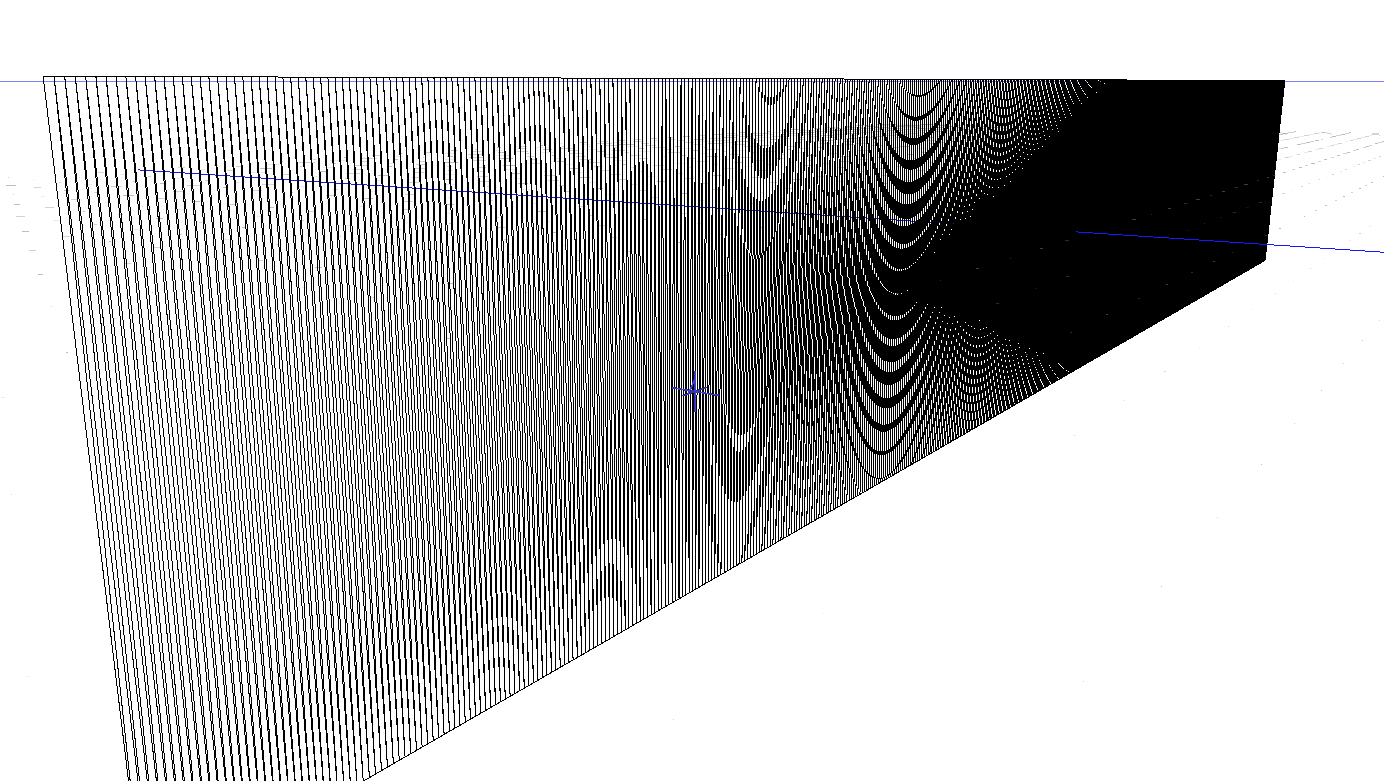
Cloned Planes
COMBINED GEOMETRY
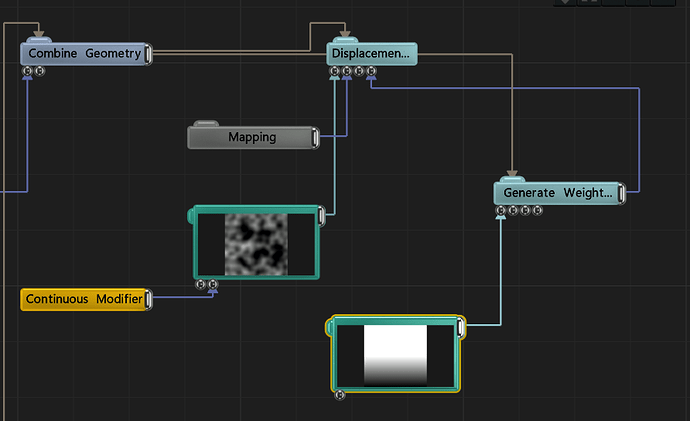
Now we want to deform each of the cloned planes. By applying the deformer directly to the plane the clones plane will be deformed identically, you also can’t apply a deformer directly to the cloner. To make this work, we’ll have to combine the clones beforehand as one piece of geometry using the “combine geometry” node.
Here’s a quick tip showing you how to deform clones.
https://www.youtube.com/watch?v=hQpqenUQmqc
DISPLACEMENT DEFORMER
We’ll use the displacement deformer and a fractal noise but you can any shaped bitmap here.
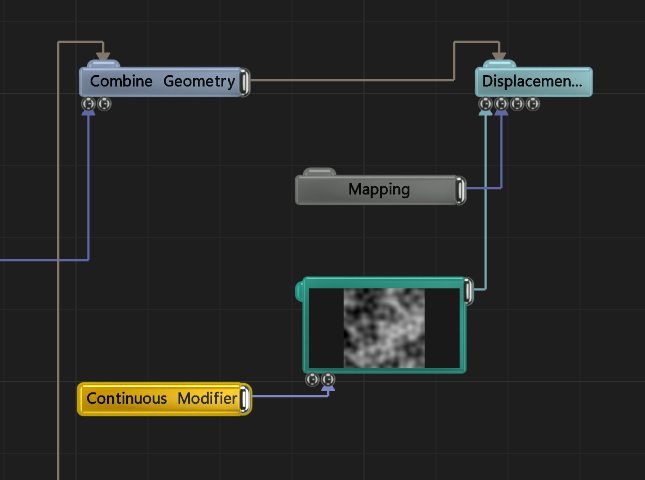
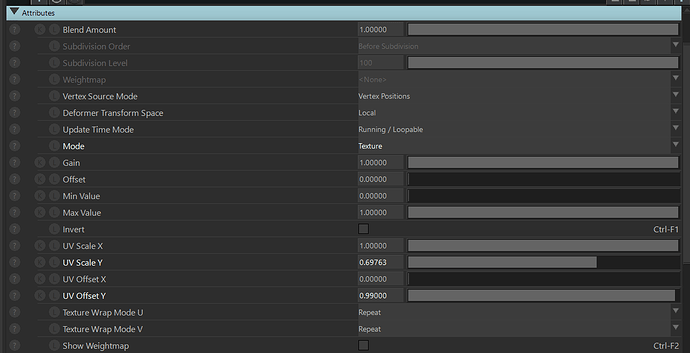
Displacement attribute settings.
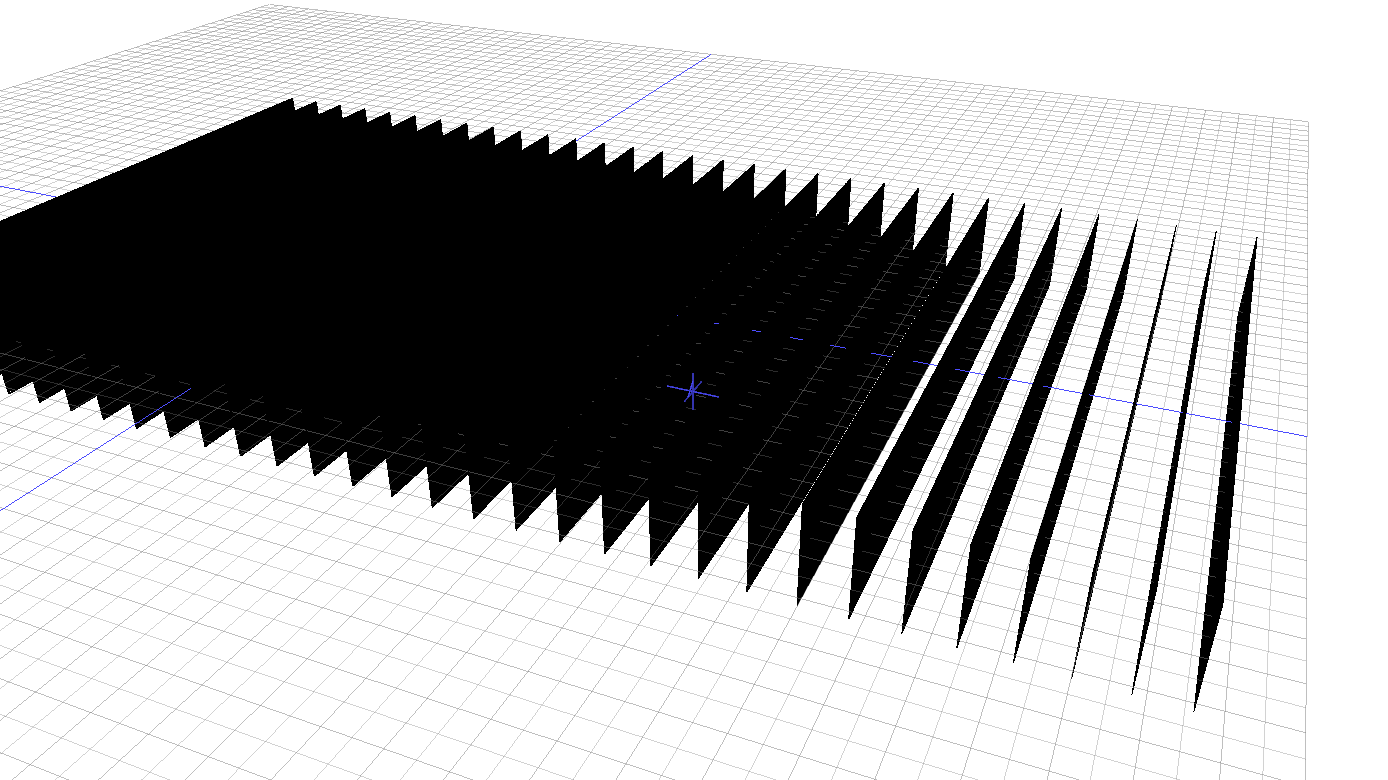
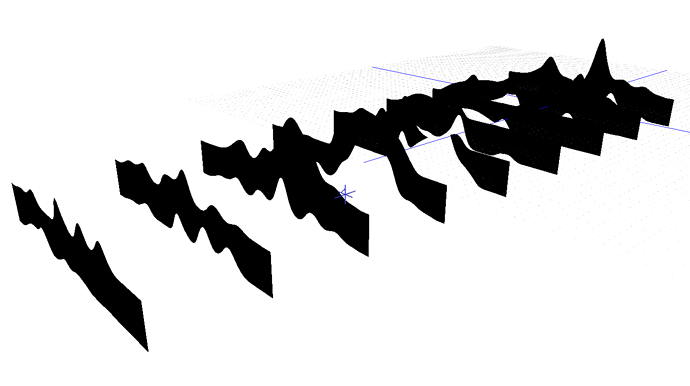
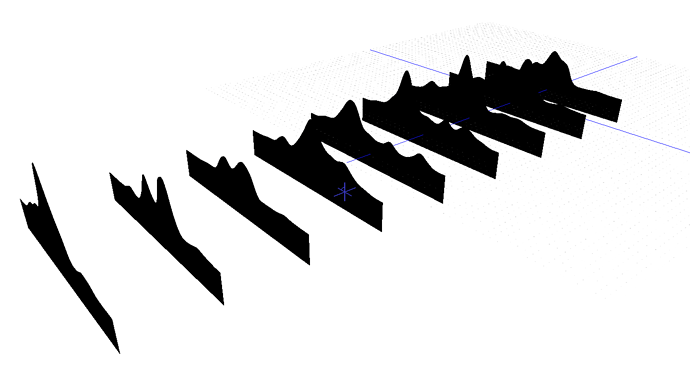
Deformed clones. (The planes here are spaced for better visibility)
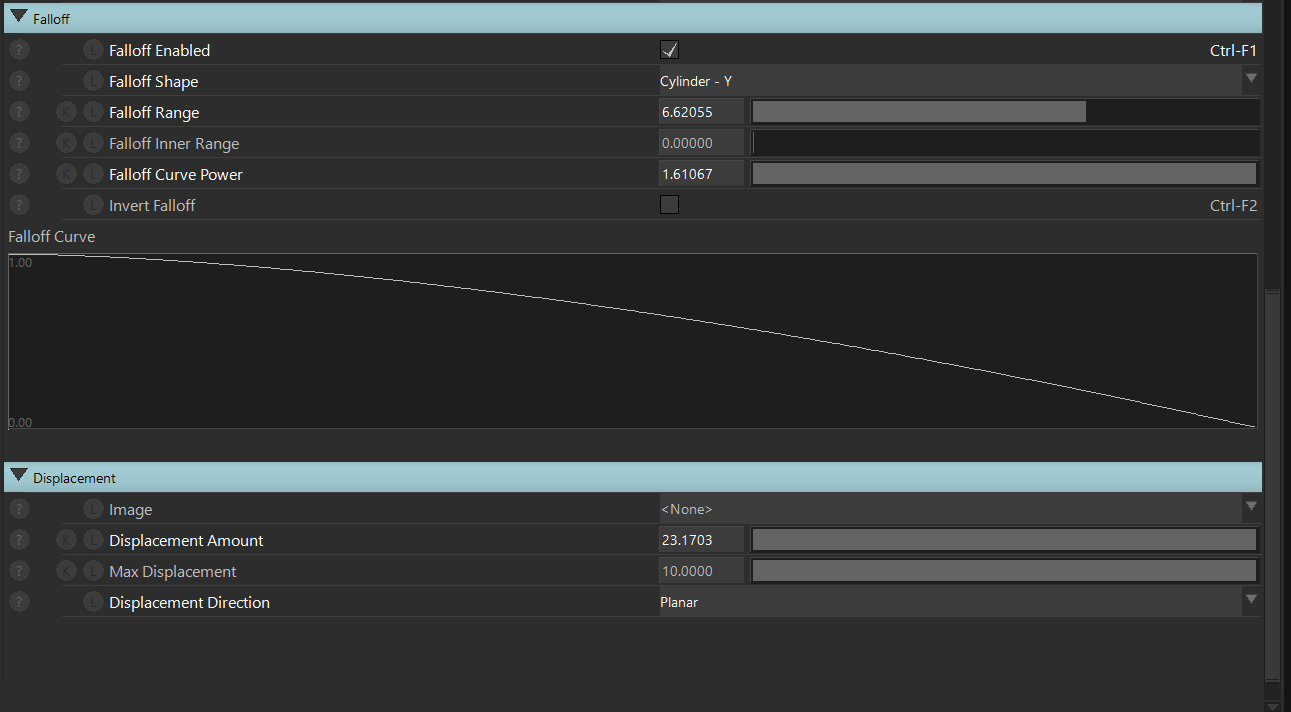
We’re currently deforming the whole mesh, and we only want the top of the mesh to be deformed.
To do this we’ll use the Generate Weightmap Deformer node, along with a gradient texture.
Here is a quick tip video about the Generate Weightmap Deformer node.
https://www.youtube.com/watch?v=ceHKTSVyQug
Generate Weightmap Deformer attribute settings.
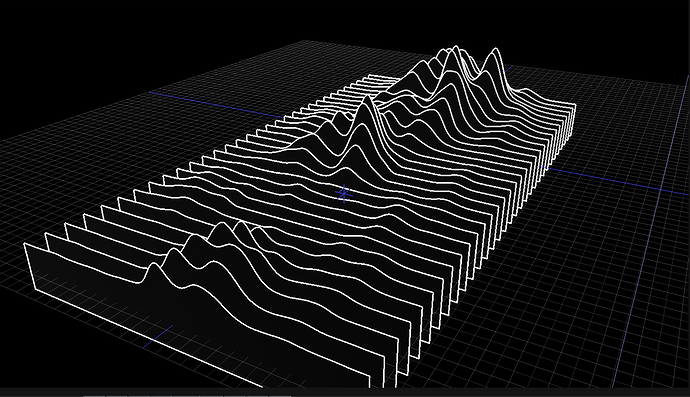
We are now getting closer to the desired result.
LINE RENDERING
To render the lines I simply used the “3D object outline” node.
3D object outline attributes settings.
Camera and masking
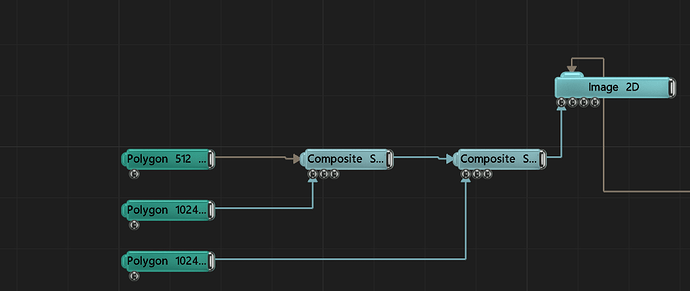
Add a static camera to the scene, we can then add a black mask to hide the edges of the image you don’t want to see.
Black mask
FINAL RESULT
A great visual from Joy Division’s iconic debut album cover.
MANUAL LINKS
Cloner
Displacement Map
Combine Geometry
Generate Weightmap
3D object outline

