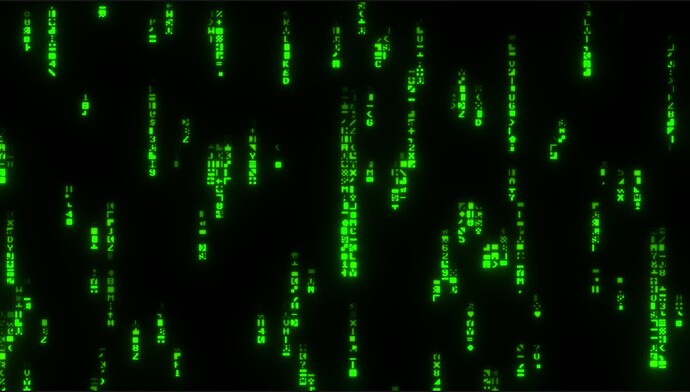
The Matrix
Ever wondered how to do a cool Matrix effect in Notch? Well if you have, here’s a quick tutorial on how to do exactly that.
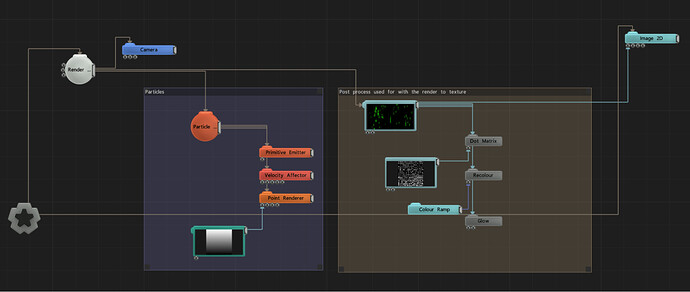
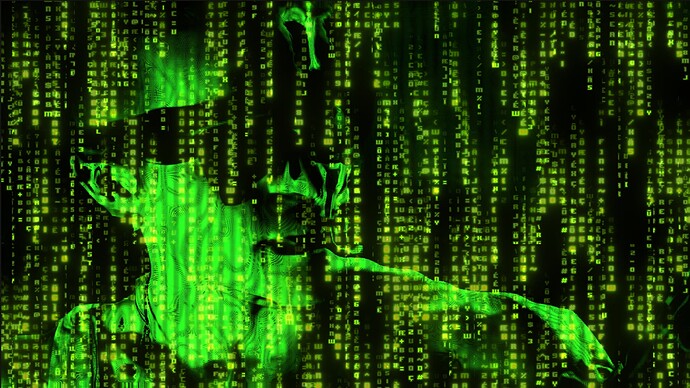
The goal here is not to do the identical effect but to get close to it without using too many nodes and to make it easy to modify and use for different situations. For this effect, we’ll be looking at using a particle system, a render to texture, and some post-process FX.
PARTICLES
If you are not yet familiar with particles here is a short tutorial which will show you how basic particle systems work: Particle Systems - (Notch Basics 007)
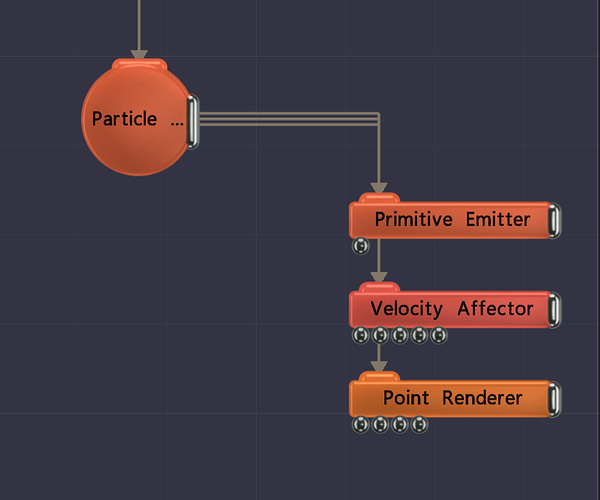
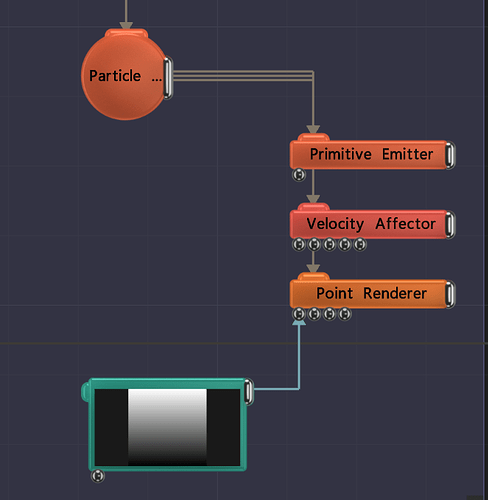
The first thing we want to do is to create a basic particle system, with the goal of making particles fall. To do this we need a primitive, a velocity affector and a point renderer.
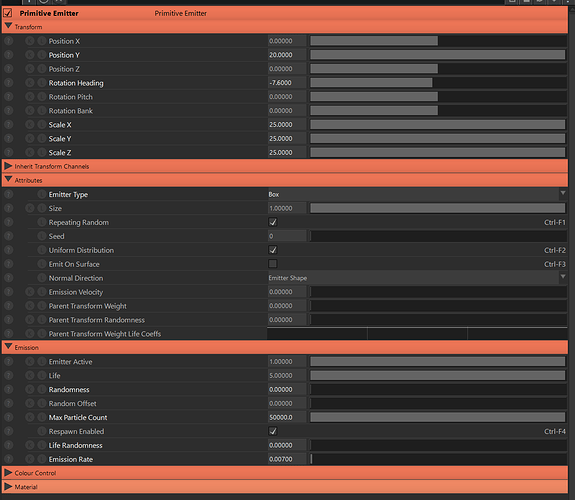
Primitive emitter attribute settings.
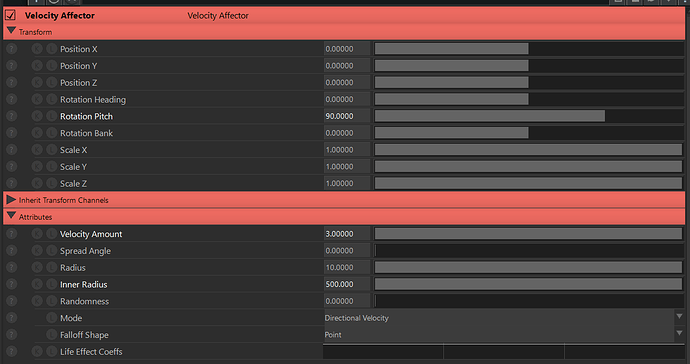
Velocity affector attribute settings.
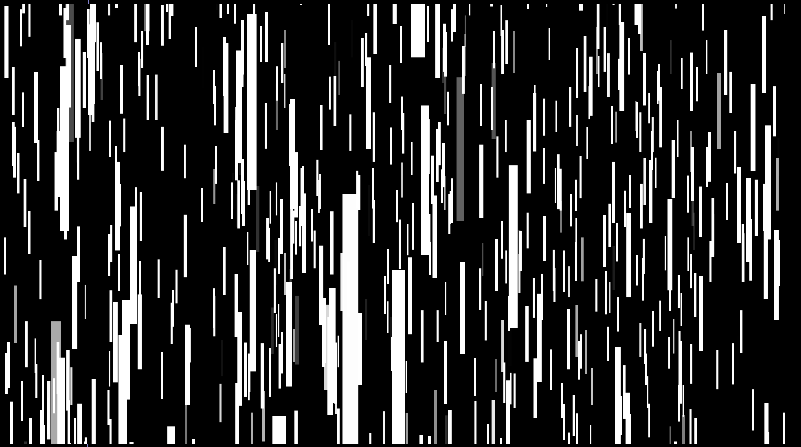
By default the particles are square, what we need is a vertically stretched particle, for this we can just change the size of the particle on the Y axis in the point renderer.:
Now we have long particles.
Next we’ll add a gradient texture to our particles, to do this we need to add a “gradient” to the point renderer node.
Please note that you need to change the preroll value in the root, so that the particles are already running at frame 0. For more information on pre-roll works here’s a quick tip that shows how it works. Particle Pre-roll Time - (Notch Quick Tip)
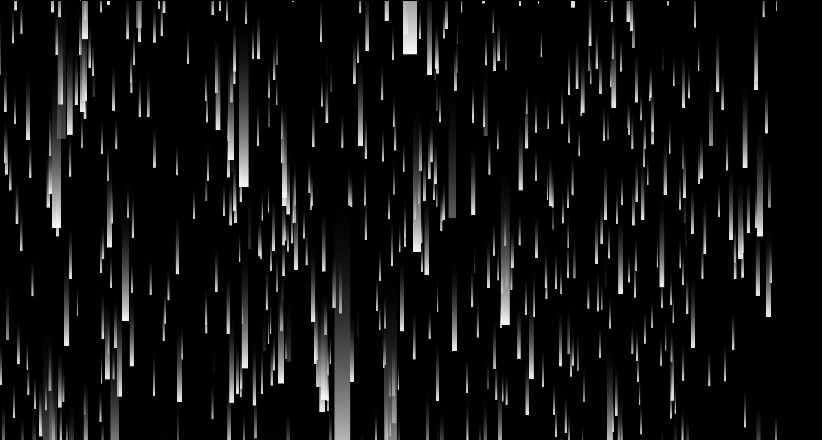
Particles with gradient
RENDER TO TEXTURE
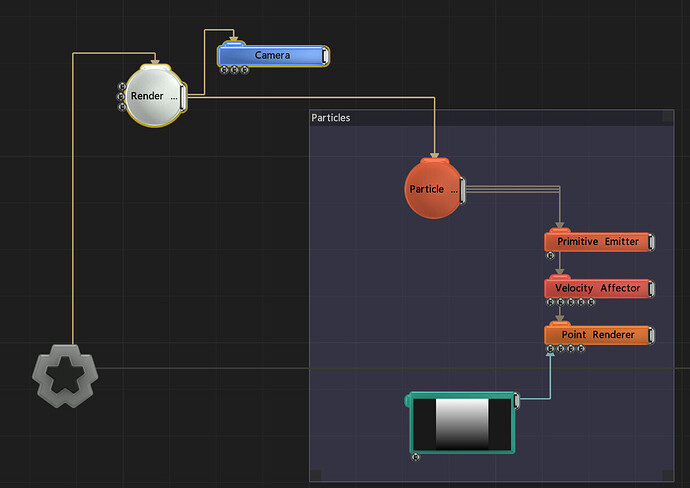
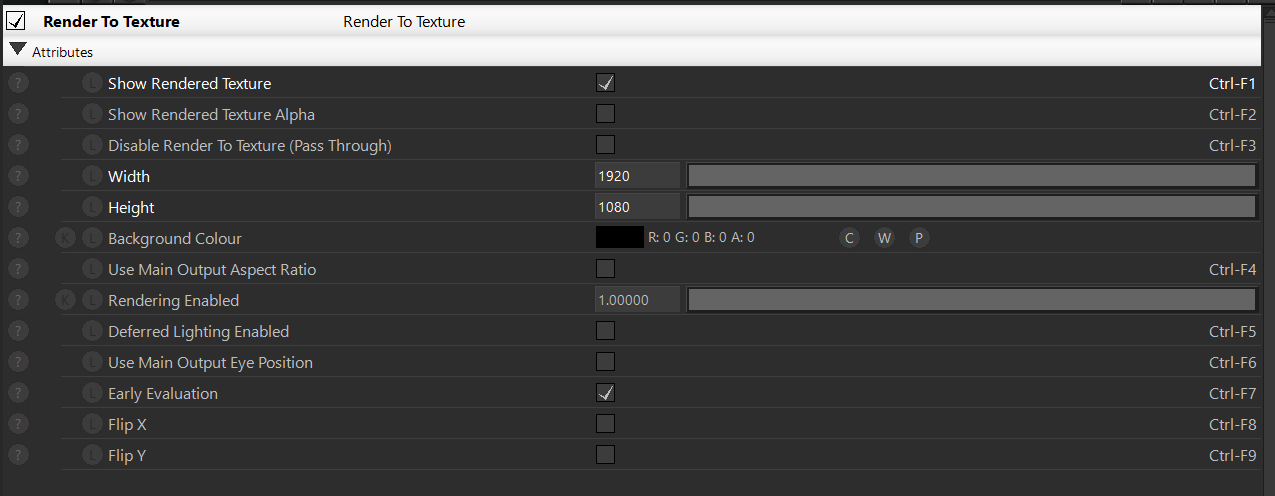
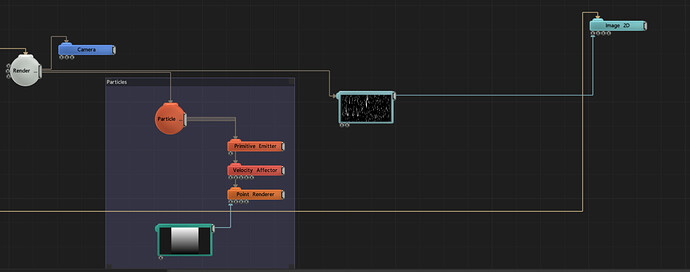
Now we’ll add a render to texture, and connect the particle root and a camera to it, by using a render to texture it will be possible later to use the particle system as a texture/image.
Render To Texture attribute settings.
We’ll add a video null which we’ll going to use for the output of the render to texture and this will connect directly to an Image 2D node. The render to texture output can be directly added to the Image 2D, but by using a video null it allows you add post fx to that image source before it goes into the Image 2D.
POST PROCESS
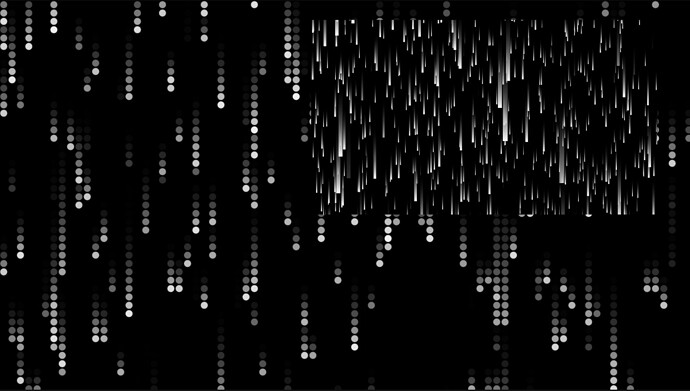
The 1st post process we’ll add will be the “Dot Matrix” fx :
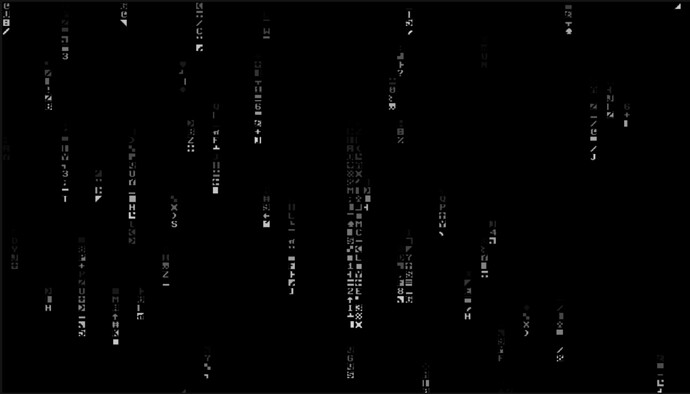
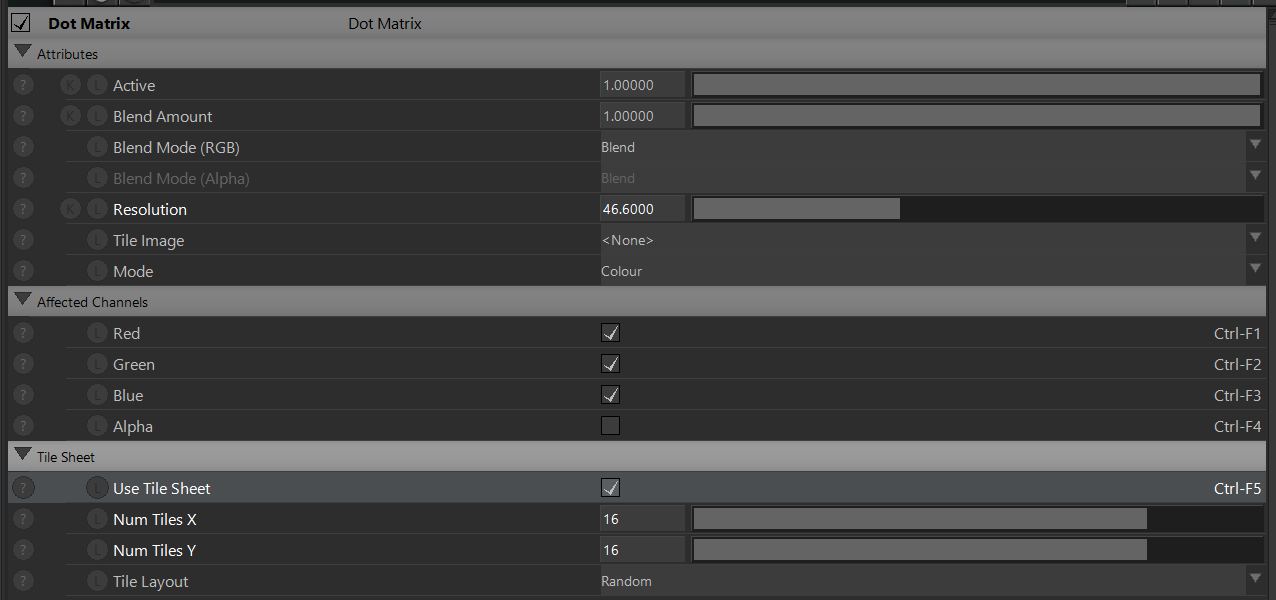
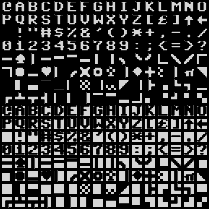
The dots matrix has round dots which we want to replace with letters, to do this we need to enable “Use Tile Sheet”. We can then use a tile sheet of letters to replace the dots, now the effect looking a lot more interesting.
Dot Matrix attribute settings.
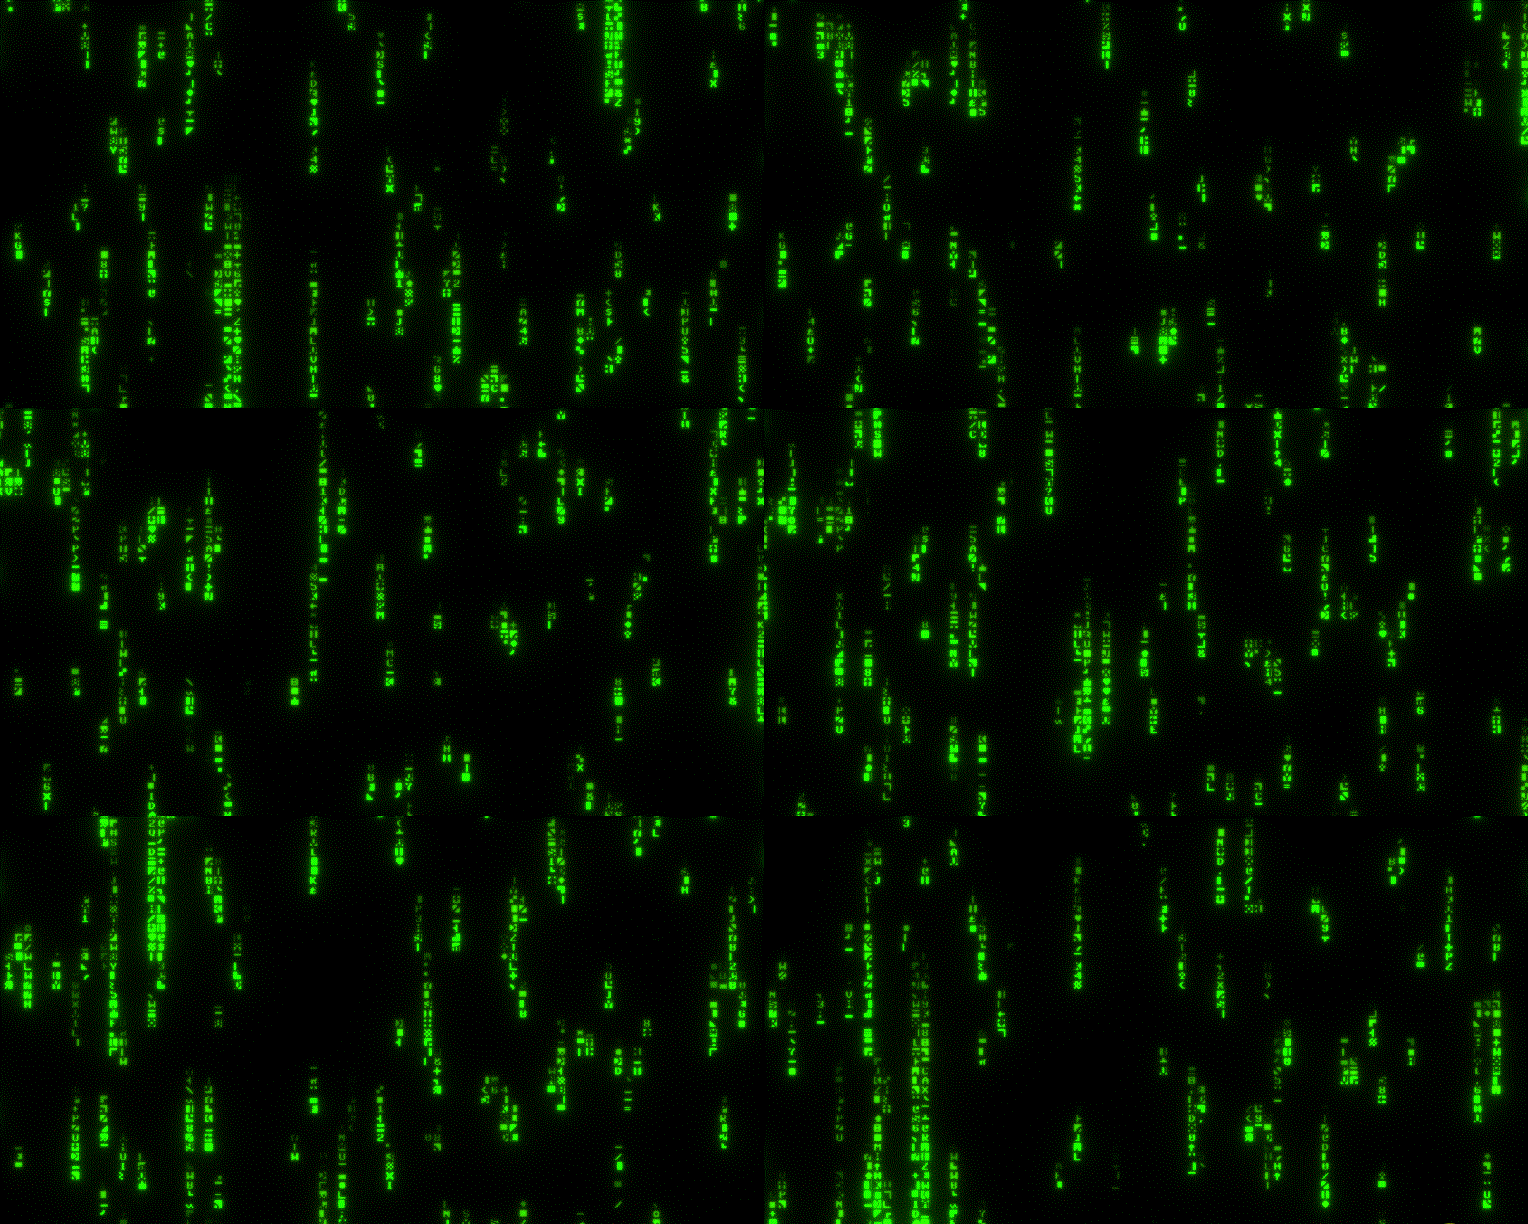
16 x 16 letter tile sheet
STEP INSIDE THE MATRIX
The final thing to do is recolor the text to green using a color ramp, and then add a glow.
You are now in the Matrix.

